
How to Install a Bathroom Exhaust Fan with a Light: 11xplay pro, 24 betting login india, Skyinplay live login
11xplay pro, 24 betting login india, skyinplay live login: Are you looking to upgrade your bathroom with a new exhaust fan that also has a light? Installing a bathroom exhaust fan with a light is a great way to improve ventilation and lighting in your bathroom. In this article, we will guide you through the installation process step by step.
Materials Needed:
– Exhaust fan with light
– Screwdriver
– Wire nuts
– Electrical tape
– Wire cutters
– Circuit tester
– Mounting bracket
– Ducting
Step 1: Turn off the Power
Before starting any electrical work, make sure to turn off the power to the bathroom at the circuit breaker. Use a circuit tester to double-check that the power is off to avoid any accidents.
Step 2: Remove the Old Fan
If you already have an existing exhaust fan, you will need to remove it first. Unscrew any mounting screws and detach the fan from the ceiling. Disconnect the electrical wires and remove the fan from the duct.
Step 3: Install the Mounting Bracket
Follow the manufacturer’s instructions to install the mounting bracket for your new exhaust fan. Make sure it is securely attached to the ceiling joists.
Step 4: Connect the Wiring
Carefully connect the wiring from the new exhaust fan to the existing electrical wiring in the bathroom. Use wire nuts and electrical tape to secure the connections. Double-check that all connections are secure before moving on.
Step 5: Attach the Exhaust Fan
Mount the new exhaust fan onto the bracket and secure it in place with screws. Make sure it is level and flush against the ceiling.
Step 6: Install the Ducting
Attach the ducting to the exhaust fan and secure it in place using duct clamps. Make sure the ducting is properly connected to the exterior vent to ensure proper ventilation.
Step 7: Install the Light
If your exhaust fan comes with a light, follow the manufacturer’s instructions to install it. Connect the wiring for the light to the existing electrical wiring in the bathroom.
Step 8: Test the Fan and Light
Once everything is installed, turn the power back on and test the fan and light to make sure they are working properly. Make any adjustments as needed.
Congratulations! You have successfully installed a bathroom exhaust fan with a light. Enjoy improved ventilation and lighting in your bathroom.
FAQs
Q: Do I need to hire a professional to install a bathroom exhaust fan with a light?
A: While it is possible to install a bathroom exhaust fan with a light on your own, if you are not comfortable working with electrical wiring, it is always best to hire a professional for safety reasons.
Q: How often should I replace the exhaust fan in my bathroom?
A: It is recommended to replace your bathroom exhaust fan every 10-15 years to ensure optimal performance and ventilation.
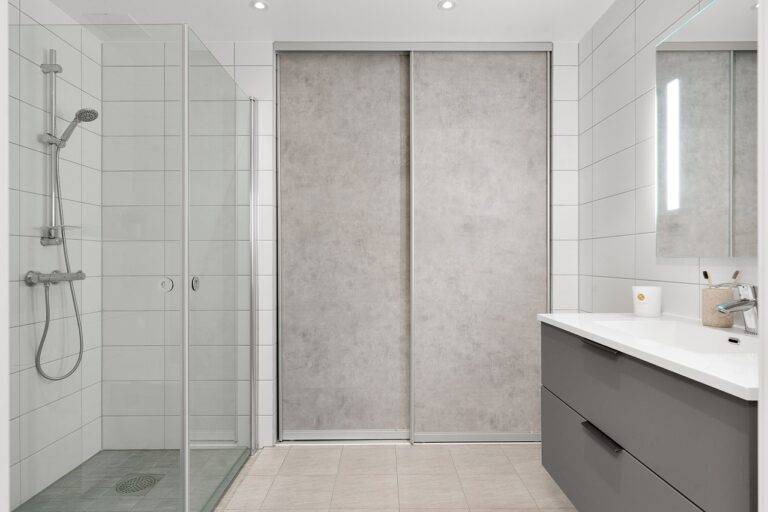
Q: Can I install a bathroom exhaust fan with a light in a shower area?
A: Yes, you can install a bathroom exhaust fan with a light in a shower area, but make sure it is rated for use in wet locations and follow all manufacturer’s guidelines for installation near water sources.